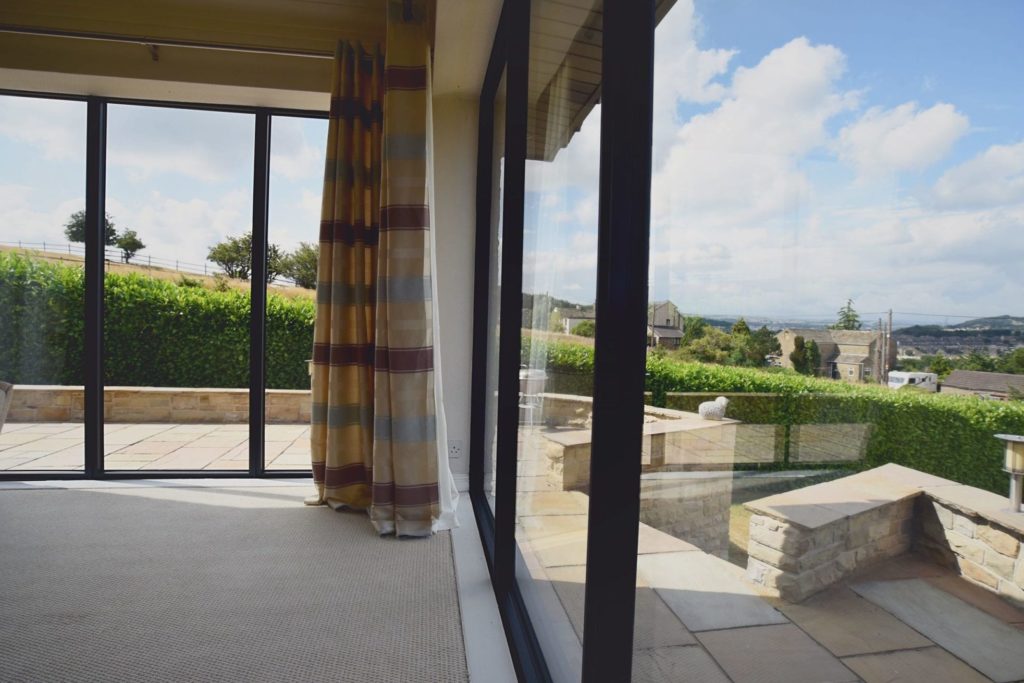
Triple Glazing Installation Guide
Share this story!
Share this post to any popular social media, email it to a friend or print it off.
Introduction
We offer a fantastic range of triple glazed windows and doors for homeowners across the UK. However, we wanted to put together a guide for installers to use when it comes to installation. Each triple glazing product is different and requires different approaches. Our guide will give you a step by step guide on what you need to know about triple glazing installation.
Before you carry out the installation, make sure that you have all the information you need about your triple glazing. If you are looking for windows and doors, why not look at our buying guides to have the correct information you need before you carry out the installation.

How Long Will The Installation Take?
We can’t give an exact time for the triple glazing installation as it depends on the size of the project you are carrying out. It goes without saying that fitting in triple glazing into new builds takes reasonably less time than replacing old glazing and inserting new triple glazing.
You are advised to do a full survey and assessment of the property you are working on before making any suggestions about how long it will take. You can take measurements and analyse the home’s foundations so that you are fully prepared for the installation.

Tools & Equipment
You need to ensure that you have the correct equipment for your triple glazing. You will require the following tools before you begin the installation:
- Tape Measure
- Level
- Silicone gun with silicone to match the frame finish
- Foam gun
- Fixing screws
- Screwdriver
- Hammer
- Chisel
- Saw (hand or electric)
- PPC equipment, including safety glasses
Step 1 – Survey
As with any fitting, it is advised that you carry out a full survey of the property before your triple glazing installation. Here you can take the final measurements to ensure that you get made to measure windows and doors.
The measurements you need are the openings and, of course, horizontal measurements too. You will need to measure the smallest width and height so that you can get the right sizes. This ensures that the triple glazing has room for contracting and expanding when you fit in the tolerances.
At the end of the survey, you will want to look around the area you are working on to see if anything may affect the installation. Take note of this so that you can find the right way to combat this and successfully fit the triple glazing.
Step 2 – Frame Positioning
Triple glazing installations can be a complex job, and you will want to make sure that the triple glazing is in the correct position before you fix it to the opening. You will need to take the frame and position it within the opening and in line with the space.
Take some temporary packers or wedges and use this to secure the frame so that it is in the correct position before your fix it in place. By ensuring that the frame is stable, will provide homes with structural integrity.
Step 3 – Fixing Methods
One size doesn’t fit all, and that applies to triple glazing installations. There are various fixing methods to choose from depending on the products you are installing and the property type. We recommend these three fixing methods. However, it is worth checking with your manufacture about this:
- Through Frame Fixing
- With Fixing Lugs
- With Polyurethane Foam
Step 4 – Fixing Locations
If you are happy with the fixing method for your triple glazing installation, it is time to fix the frame in place. Before carrying out the fixing location, you must ensure that the triple glazing frame is no less than 150mm and no bigger than 250mm. Again, you may want to ask for technical information about the triple glazing to ensure that it fits perfectly.
Sealants are a great way to ensure that everything is in place and won’t be affected by external factors, including the weather. This is appropriate when it comes to fixing locations around the cill. The cill helps to drive the rainwater away from properties, and adding a sealant, helps to keep it looking brand-new.
Step 5 – Glazing
It is time to add in the triple glazing. You will want to make sure that the frame is secure within the opening so that it comes with ease when you add in the triple glazing. When you source your glazing, you will need to check that it complies with the following regulations: BS 6161, BS 8000-Part 7 and Document L of the Building Regulations.
Step 6 – Finishing and Cleaning
Before you apply additional sealant, please check that there is no debris or leftover paint marks. You will need to clear this carefully and made sure it is disposed of in the right way. You don’t want your customers to have anything but a seamless experience with you.
Step 7 – Frame Sealant
Frame sealant is an important part of any triple glazing installation. It helps keep the windows and doors looking brand new, and it also provides them with excellent resistance against unwelcome weather. Check with your supplier which sealant they recommend as it may work best with different products.
Step 8 – Final Inspection and Handover
It does not harm to do one final check of the triple glazing installation. From the functionality of the glazing to its visual appeal, you need to make sure that it does the job and meets your customers’ requirements. You can then hand your customers any documentation they need and your contact information if they have any questions.
Final Points
We understand that triple glazing installations are a complex job, and you may have further questions about it. Send us a message through our online contact form, and we will endeavour to get back to you as soon as possible.
If you have any urgent questions, please give us a ring on 03332 412 240 and have a chat with one of our many friendly team members. We have years of experience in the triple glazing industry, and we will be happy to help.

You May Also Be Interested In:
- Comparing uPVC Sash Windows vs Wooden Double Glazed Sash Windows
- Double Glazing Installation Guide
- The 4 Advantages of Double Glazed Sash Windows: A Wise Investment
- What Are The 6 Benefits of Double and Triple Glazing?
- 1.2 U-Value Available Now For uPVC Sash Windows
- Bifold Door Maintenance Made Easy – Follow These Simple Steps - 18 November 2024
- Bifold Doors vs. Slide and Stack Doors: Which Is Right for You? - 8 July 2024
- Quickslide Customer Days Heralded a Resounding Success - 21 June 2024
Please note, our news articles are relevant and accurate at the time of release, but as technical developments dictate, and times goes by the information in this article may no longer be applicable. If you have questions, please contact us using our online contact form or call us on 03332 412 240.


